Visiting Card Design In CorelDraw, Easy and Simple Method, Step By Step, Download Source File
Hello Friends, Welcome to Corelclass.com In This Post, I am Going to Teach you How to Create Visiting Design in CorelDraw. In This Project, You Can Learn How Design Visiting Card in CorelDraw Application an Easy Method. Visiting Card Design In CorelDraw
You Can Also Download the Practice File in This Post. So Let’s Start To Learn This Project, Before starting I request You to Please Follow the Given Below Step to Learn Properly step by step. Visiting Card Design In CorelDraw, Easy and Simple Method, Step By Step, Download Source File
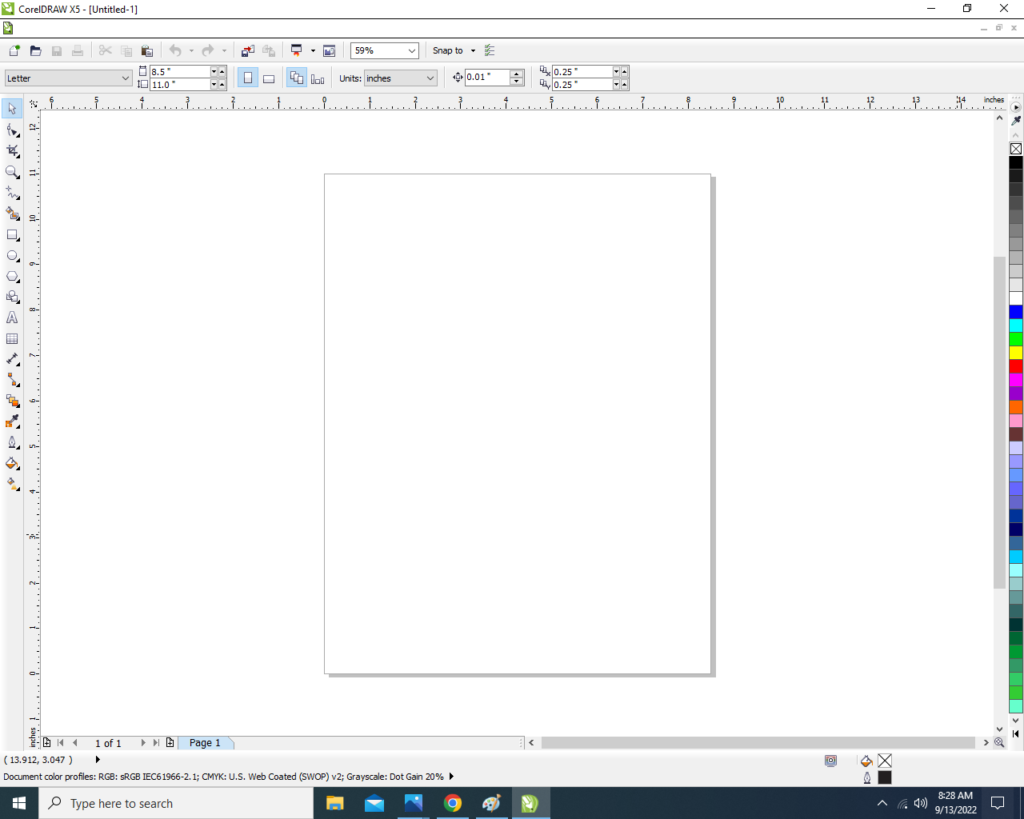
- Press Window + R to Open Run Dialogue Box> Type CorelDraw> Press OK ..

- You Can See the open Application CorelDraw.

- Press CTRL + N to Open New Page Window.Visiting Card Design In CorelDraw, Easy and Simple Method, Step By Step, Download Source File

- Press Ok.

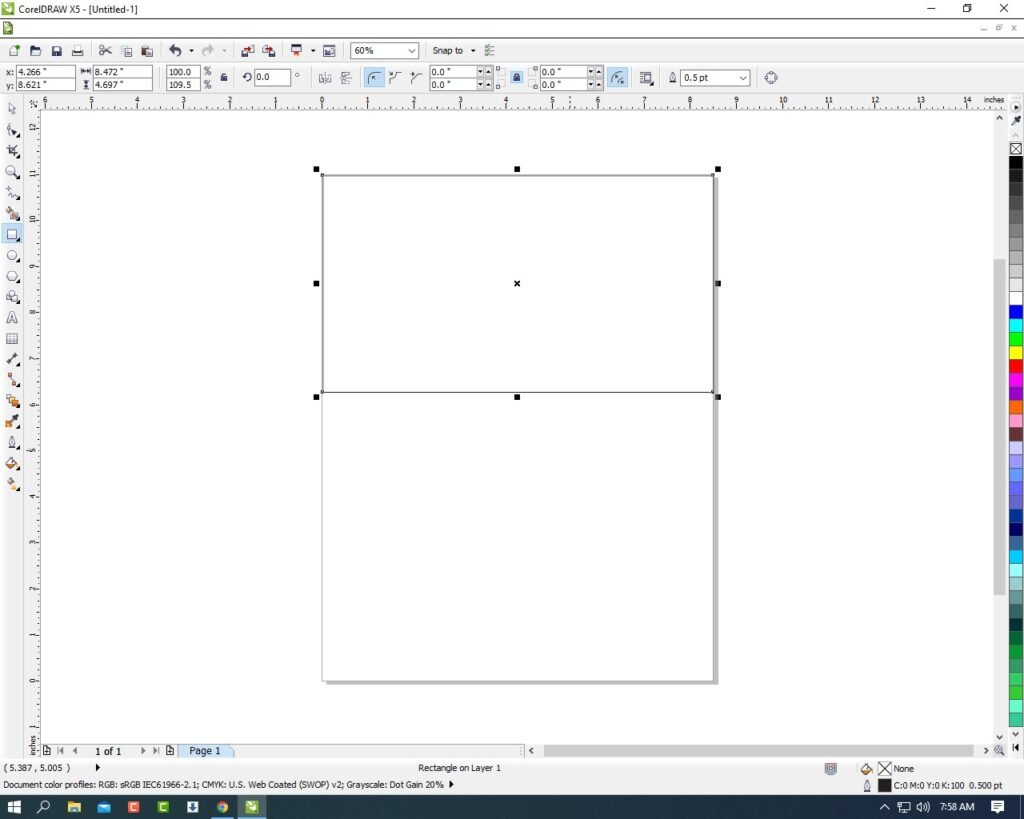
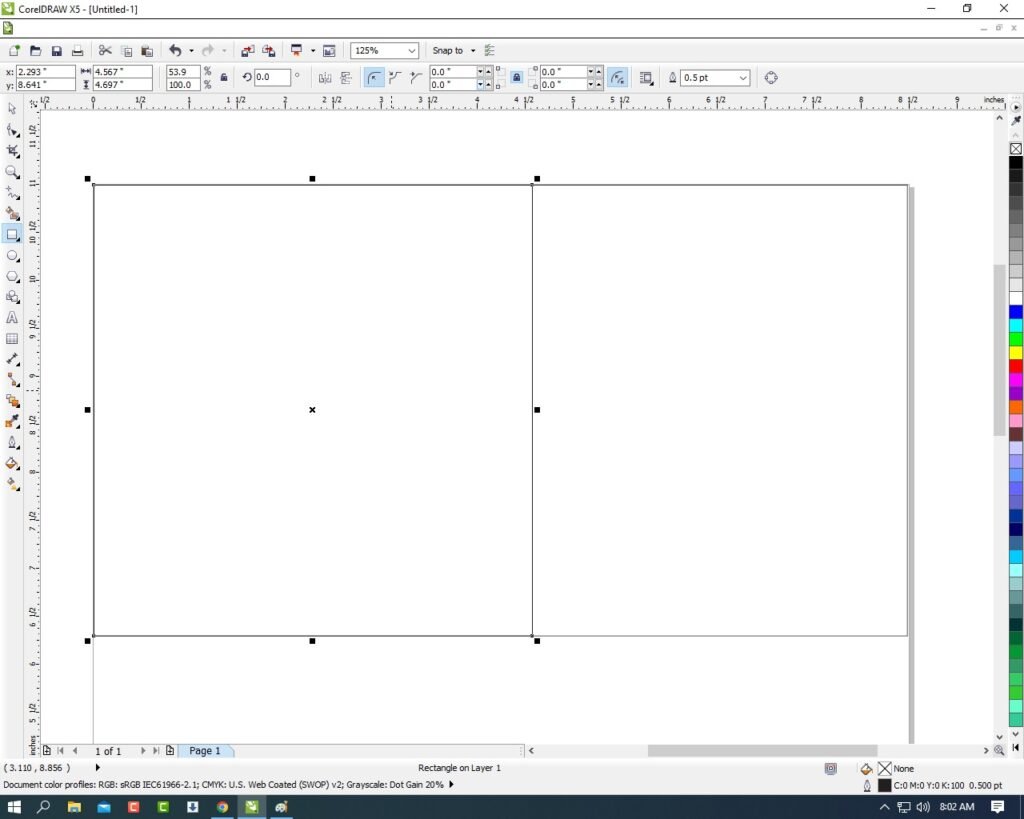
- Draw a Half Rectangle.

- Then Draw a New Rectangle In Rectangle Shape.

- Then Select the Rectangle Shape > Press F10 > CTRL + Q.

- Then Click Right On the corner of Rectangle >Click on To Curve Option > Move the Arrows To Create A new Shape. Like I show.

- Fill Any Color and Any Color of Outline.

- Then Create a Same Shape in Opposite Side. I will show you.

- Then You can Insert Logo on your Institute/company/collage.

- Mention Your Institute/Company/Collage Name.

- Then You can Mention Your Institute/Collage/Company Personal & Professional Details.
- Press CTRL + F11 to Insert the Character & Symbol.

- Then Draw a New Rectangle.

- Then Repeat a same Process draw Rectangle in Rectangle Shape > Press F10 > CTRL + Q > Then Click Right on Corner of Rectangle Shape > Click On to Curve Option, Then Move the Arrow to Create a New Shape I Will Show This

- Then Insert LOGO & Mention Your Address. Visiting Card Design In CorelDraw, Easy and Simple Method, Step By Step, Download Source File

- Then You can see I Apply the Shadow on Text.
- Go to Blend tool > Click on Drop Shadow Option & Apply any Text As Your Wish.

- Draw a New Small Rectangle > Fill any Color > 1pt Outline Fill any Color in Outline.

- Select the Rectangle > F10 > CTRL + Q > Move the Point create a New Shape I will Show .

- Then Press CTRL + D to duplicate this Object And Fix Like This I show.

- Then Finally Complete this Project I hope You all understand the all Step.
- Thank you.

Created and Explained By Shikha Singh
Important link
Visit at – https://www.corelclass.com
Read Also it – https://msexcelclass.com/
Also, Read- Tally Course Fees, Duration, Scope, Syllabus, Admission, Institutes
Also Read – CCC Course Fees, Syllabus, Duration, Scope, Jobs, and Institute
Important Link – DFA Course Fees, Syllabus, Duration, Scope, Jobs, and Institute
Visit – https://mswordclass.com/

