Certificate Design in CorelDraw, Easy and Step by Step, Download Source File.
Hello Friends, Welcome to Corelclass.com In This Post I am Going to Teach you How to Create a Certificate Design in CorelDraw. In This Project, You Can Learn How to Design a Certificate in CorelDraw Application in Easy Method. You Can Also Download the Practice File in This Post. So Let’s Start To Learn This Project Before Starting I request You to Please Follow the Given Below Step to Learn Properly step by step.
- Press Window + R To Open Run Dialogue Box > Type coreldrw.

- Press OK.

- Then Press CTRL + N > Ok > to Open New Page Window.

- Will Mention Page Size.

- Then Double Click on Rectangle Tool.

- Fill White Color on Page.

- Then Draw a New Rectangle Shape on the Page > Fill in any Color > No Outline.
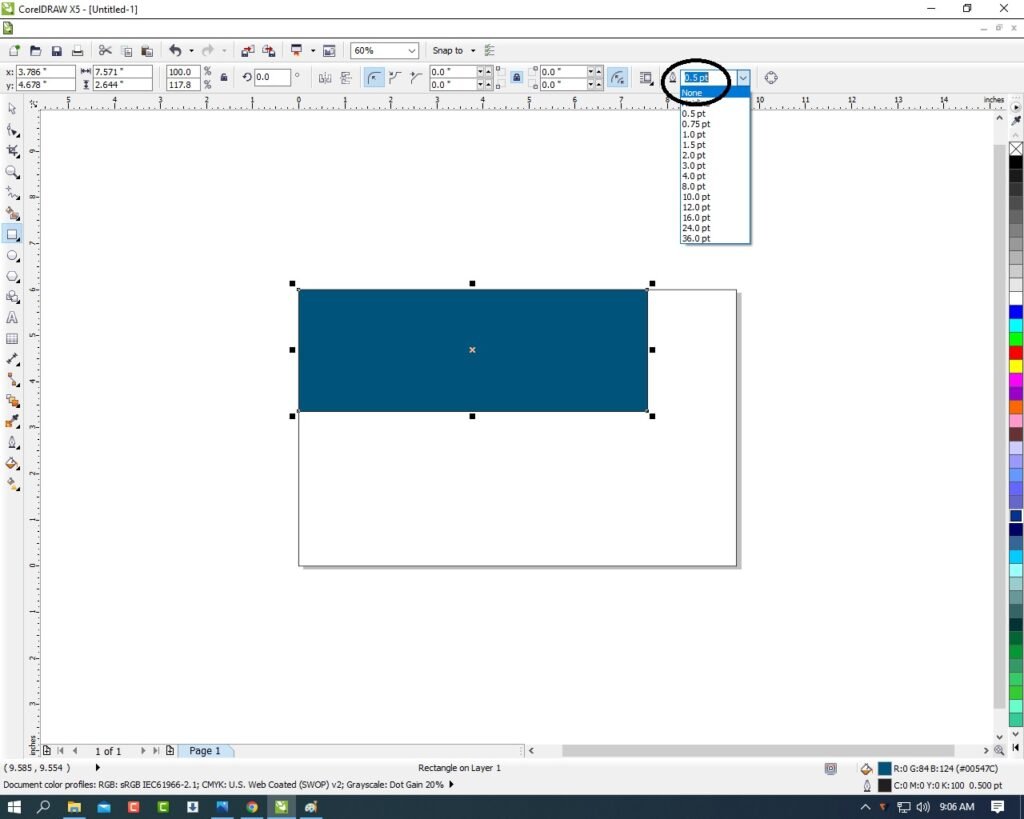
- Select the Rectangle Shape > Press F10 > CTRL + Q .

- Click Right On the any Rectangle Corner > Click To Curve Option.

- Then Move the Arrows and Make New Different Shape. Like I Show.

- Then Click On Pick Tool > Select the Shape And Go to Pen Tool > No Outline.

- Select the Rectangle > Press CTRL + D (Duplicate) > Fill any Different Color > Press CTRL + Page Down Fix Like This I will show.

- The Same Process Make a One More Duplicate this Shape > Go to Fill tool > Click On Fountain Fill Option and Fill any color.

- Then Press CTRL + Page Down > Fix It.

- Go to Basic Shape tool

- Then Click On Perfect Tool.

- Draw a Triangle > Fill any Color > No Outline.

- Press F10 > CTRL + Q > Click Right On the any Triangle Corner > Click To Curve Option > Make a New Shape. Like This.

- Then Same Process make a Two Duplicates Fill Any Color and Press CTRL + Page Down Send Backword the Shape > Press F10 > CTRL + Q to Change a Shape. Then Fix It Like I Show.

- Draw a New Triangle > Fill any Color > No Outline.

- Then Same Process Select Triangle > Press F10 > CTRL + Q > Click Right On the any Triangle Corner > Click To Curve Option > Make a New Shape. Like This.
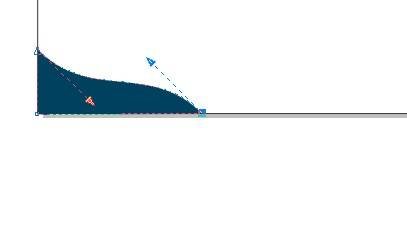
- Then Same Process make a Two Duplicates Fill Any Color and Press CTRL + Page Down Send Backword the Shape > Press F10 > CTRL + Q to Change a Shape. Then Fix It Like I Show.

- Go to Eclipse Tool to draw a Circle.

- Fill any color and No Outline.

- Then Select the Circle > Press CTRL + Page Down > Fix It Like I Will Show.

- Then Create Duplicates As I will show you.
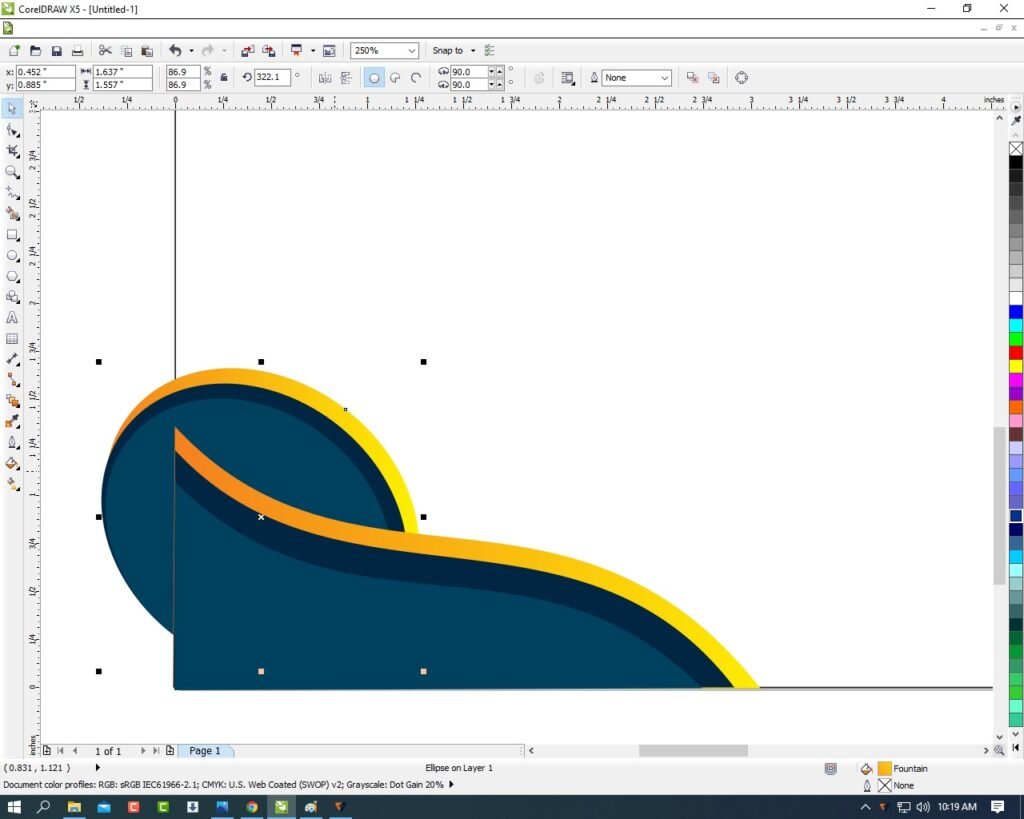
- Then Select all Circles Press Shift Then Click To Select all Circles.
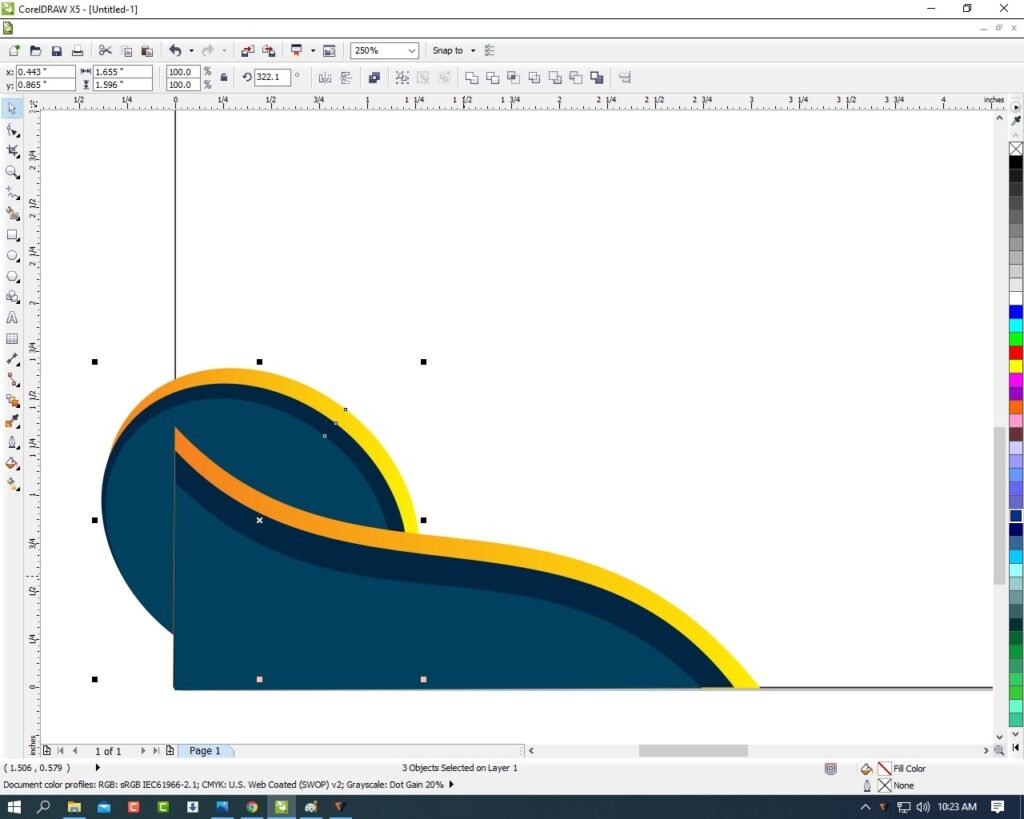
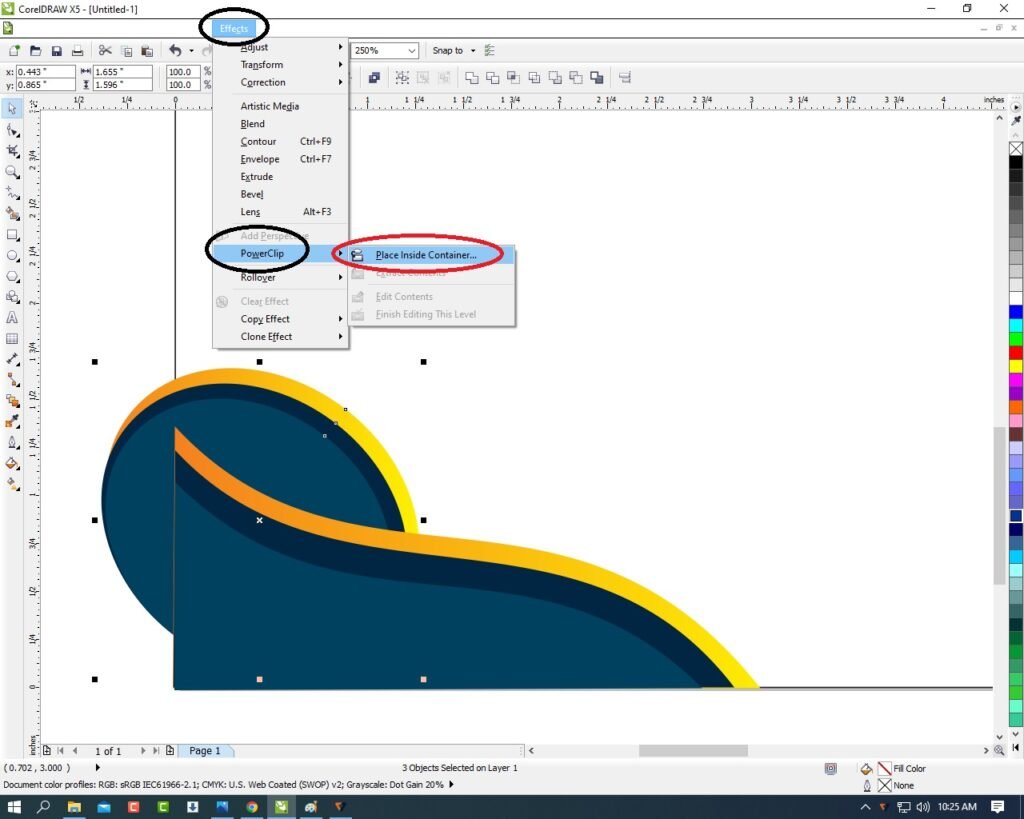
- Go To Effect Menu > Click Option PowerClip > Place Inside Container.
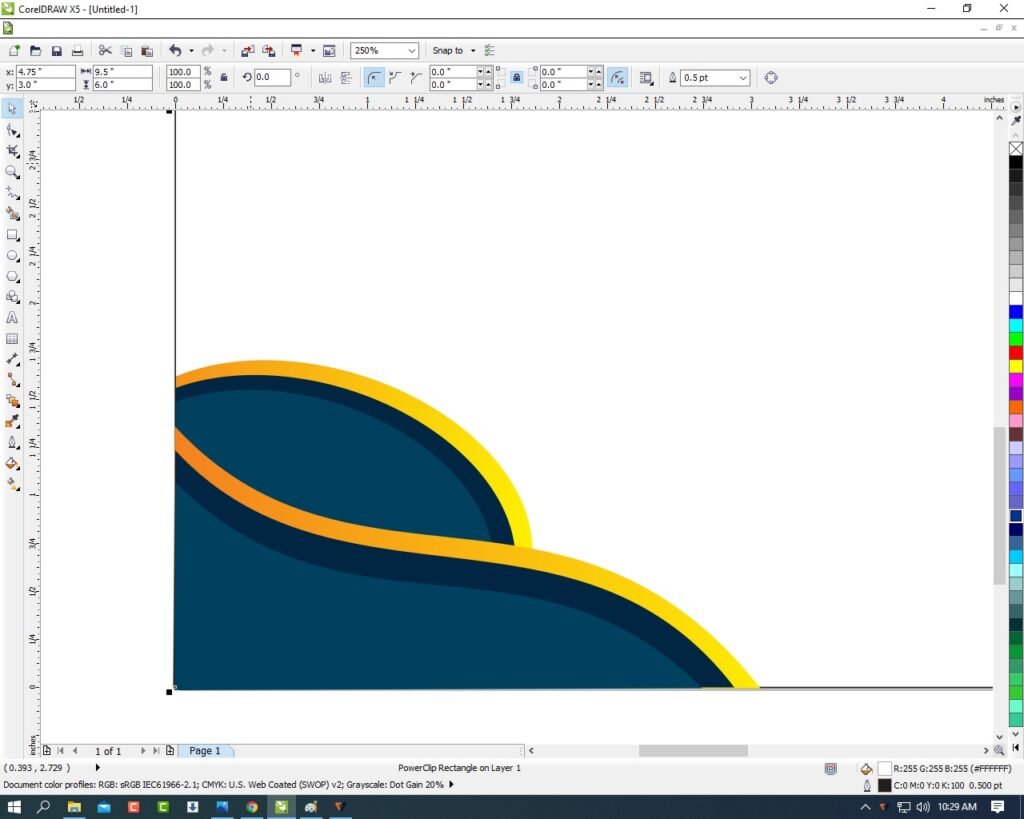
- Click on page > Then the extra shapes aria will Disappear.
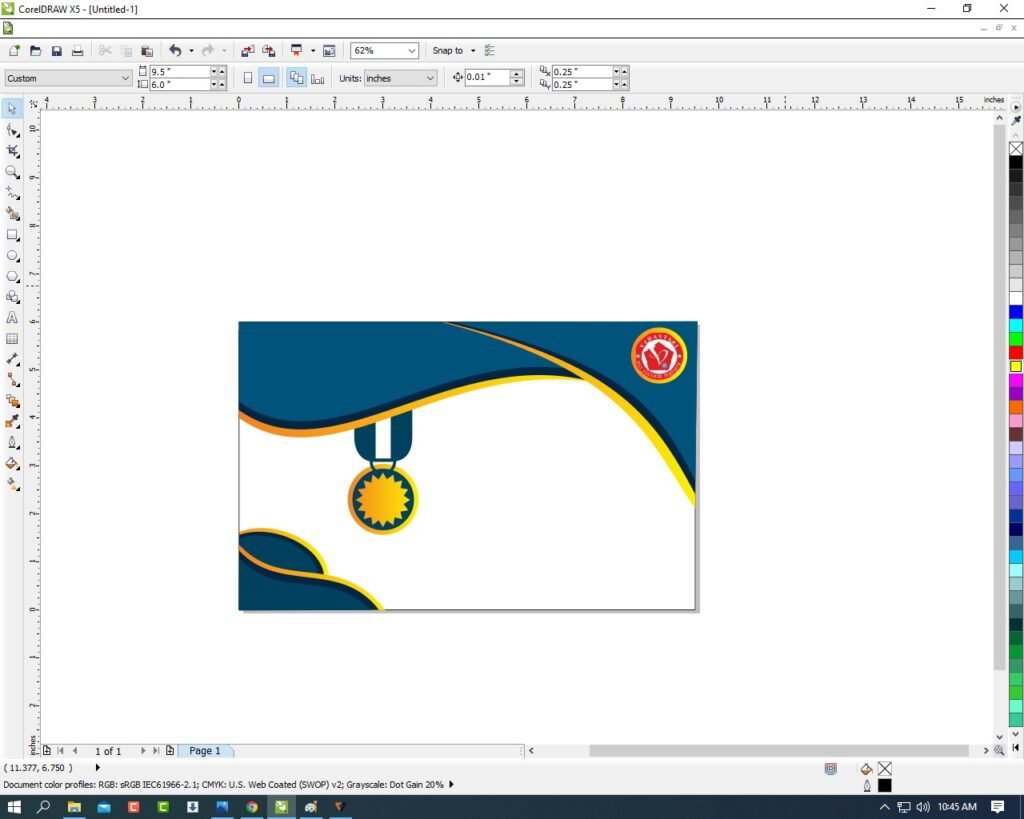
- Then I will Insert the Symbol > Press CTRL + F11 To Insert Character > Type Webdings

- Insert Symbols and Character As I Show.

- Then Insert Your School/College/Institute LOGO.
- Then Go the Text Tool and Write Your College/School/Institute Name and Fill Details.

- Fill Details.

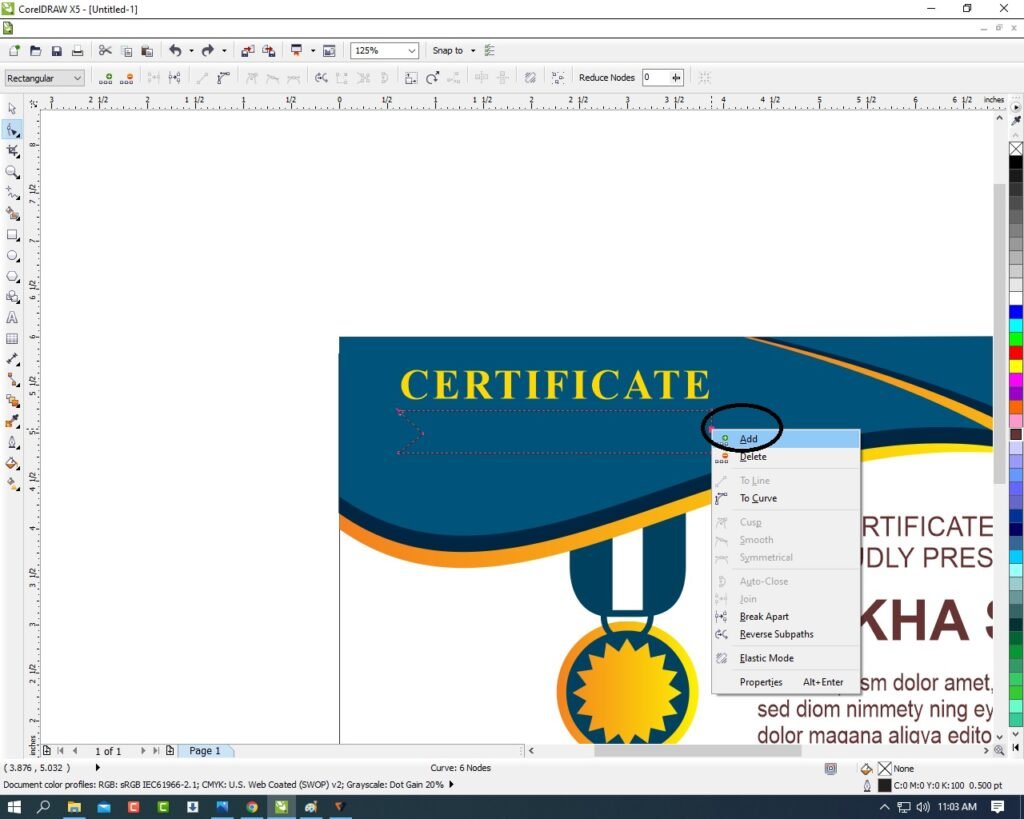
- Draw a Rectangle and Press F10 > CTRL + Q then click on the right rectangle > Click Add Option.
- Fill any color & Outline.
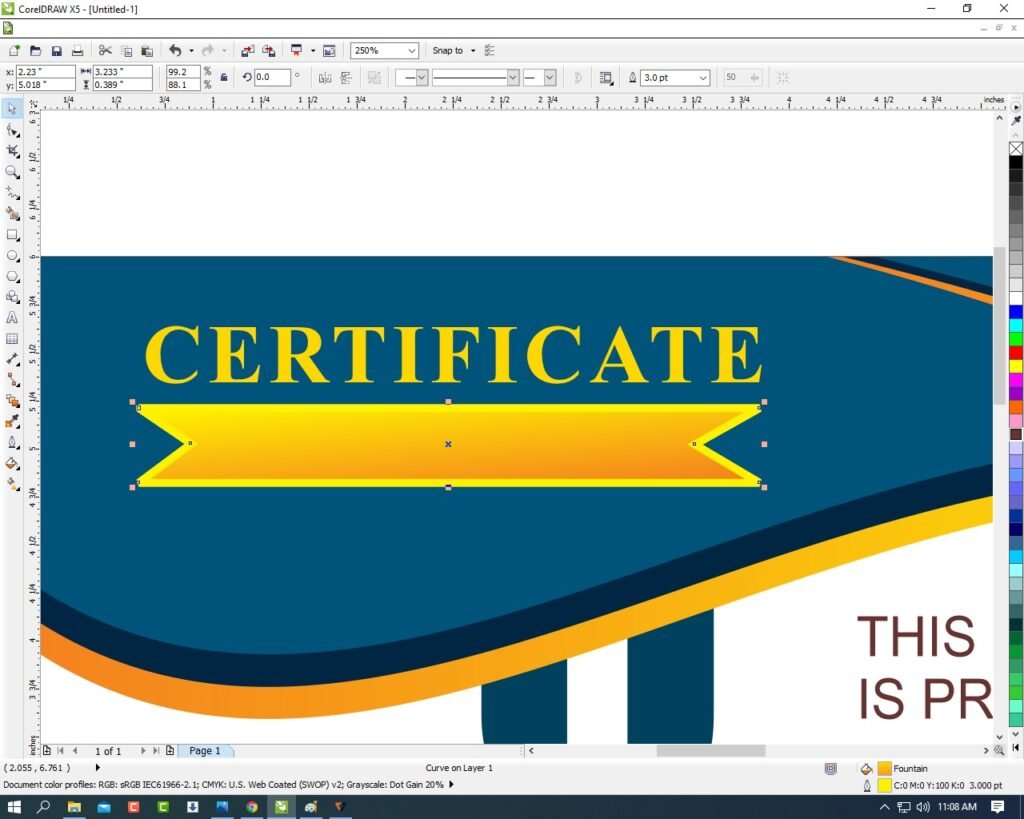
- Then Type In Rectangle.

- Then go to Freehand Tool > 2-point line Option.
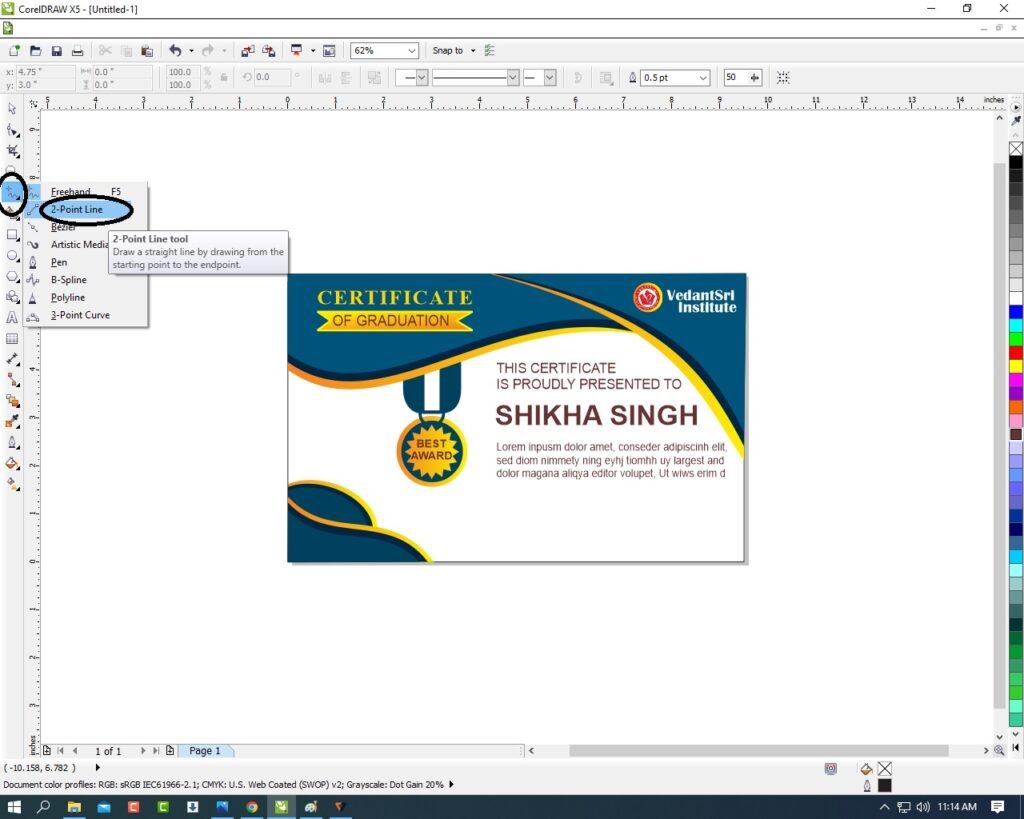
- Press shift and draw > Then Outline 3pt fill any color > Then go to End arrowhead to Change the Last Point design.


- I have Completed this Project, I hope you guys have understood all the Steps.

Created and Explained By Shikha Singh
Important Links
1-VedantSri Official Website:- https://vedantsri.com
2-Student Support Website:- https://www.vedantsri.net
3-Jobs Assist Website:- https://www.jobdo.in
External Link
1-VedantSri Official Website:- https://vedantsri.com
2-Course Store Website:- https://vedantsri.in
3-Jobs Assist Website:- https://www.jobdo.in
4-MS Word Class:- https://mswordclass.com/
5-Corel Free Class:- https://corelclass.com/
6-Free Excel Class:- https://msexcelclass.com/

